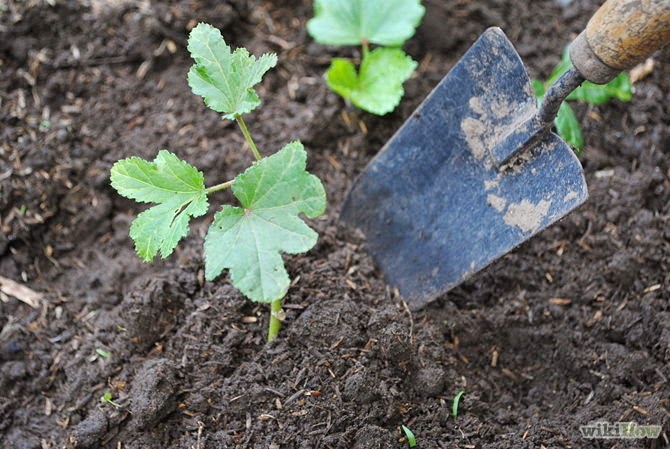
Okra is a vegetable that keeps on giving all summer long. When you harvest a pod, another grows in its place. It's related to the hibiscus plant, and produces similarly beautiful flowers. Okra grows best in hot climates, but even if you live in a Northern region, you can grow okra by starting it from seed indoors and transplanting when the weather warms up. See Step 1 to learn more about how to grow okra.
1. Select a pot for the okra plant that is at least 10 inches in diameter. You can use a 10-inch or larger pot from a garden center or use a 5-gallon bucket, which has a top diameter of about 12 inches and a bottom diameter of about 10 1/2 inches.
2. Drill 1/4 inch or smaller holes in the bottom of the container and line the bottom with gravel or broken pottery pieces to allow excess water to easily drain from the soil. The pot requires a plate or tray to catch excess water as it drains from the bottom of the pot.
3. Place the pot in a location that receives at least six hours of direct sunlight each day and where nighttime temperatures are no less than 60 degrees Fahrenheit. Okra seeds germinate best when soil temperatures are between 75 and 90 degrees Fahrenheit. The pot becomes quite heavy when filled with watered potting mix, so you may find it easier to place the pot in the desired location when it is empty.
4. Prepare a potting mix for the pot or choose a bagged mix that drains well. You can use a soil less potting mix, containing equal parts sphagnum peat, sand and vermiculite, or amend garden soil with equal parts garden soil, organic matter, sand and vermiculite. Garden soil compacts rapidly in container gardens without the addition of organic matter, sand and vermiculite to improve soil porosity and drainage.
6. Plant three to five seeds near the center of the pot, spacing each seed 1 to 2 inches apart, then cover them with 1/4 inch of potting mix. Planting multiple seeds increases the chances that at least one seed will germinate. Delicate okra roots make transplanting seedlings difficult, so sowing the seeds directly in the large pot eliminates the risk of damaging the roots.
7. Water the soil as needed to keep the soil moist until seedlings emerge. After plants are well established, drought-tolerant okra should only require weekly supplemental watering, especially during the flowering and fruiting period.
8. Thin the seedlings to only one plant for each pot, choosing the most vigorous of the seedlings after two or more sets of leaves develop.
9. Apply any organic fertilizer side dressing at least once during the growing season, such as when plants are about 8 inches tall and again a few weeks later. Nitrogen sources include urea, blood meal and poultry manure; regular compost application can provide the necessary nutrients without a nitrogen-specific source. General guidelines for side dressing fertilizers suggest 5 tablespoons for every 10 feet in a garden row, so 1/2 tablespoon of nitrogen fertilizer benefits a plant in a 12-inch container. Remember that too much nitrogen hurts okra production, so it is best to add too little nitrogen.
10. Pinch the leaves at the ends of the okra branches when the plant reaches 2 feet tall. This forces the plant to branch, leading to more okra pods.
11. Cut okra pods from the plant when they are 2 1/2 to 3 1/2 inches long, while the pods are young and tender. Check the plants several times a week so you don't leave mature pods on the plant, which prevents the plant from producing new flowers and okra pods.


No comments:
Post a Comment